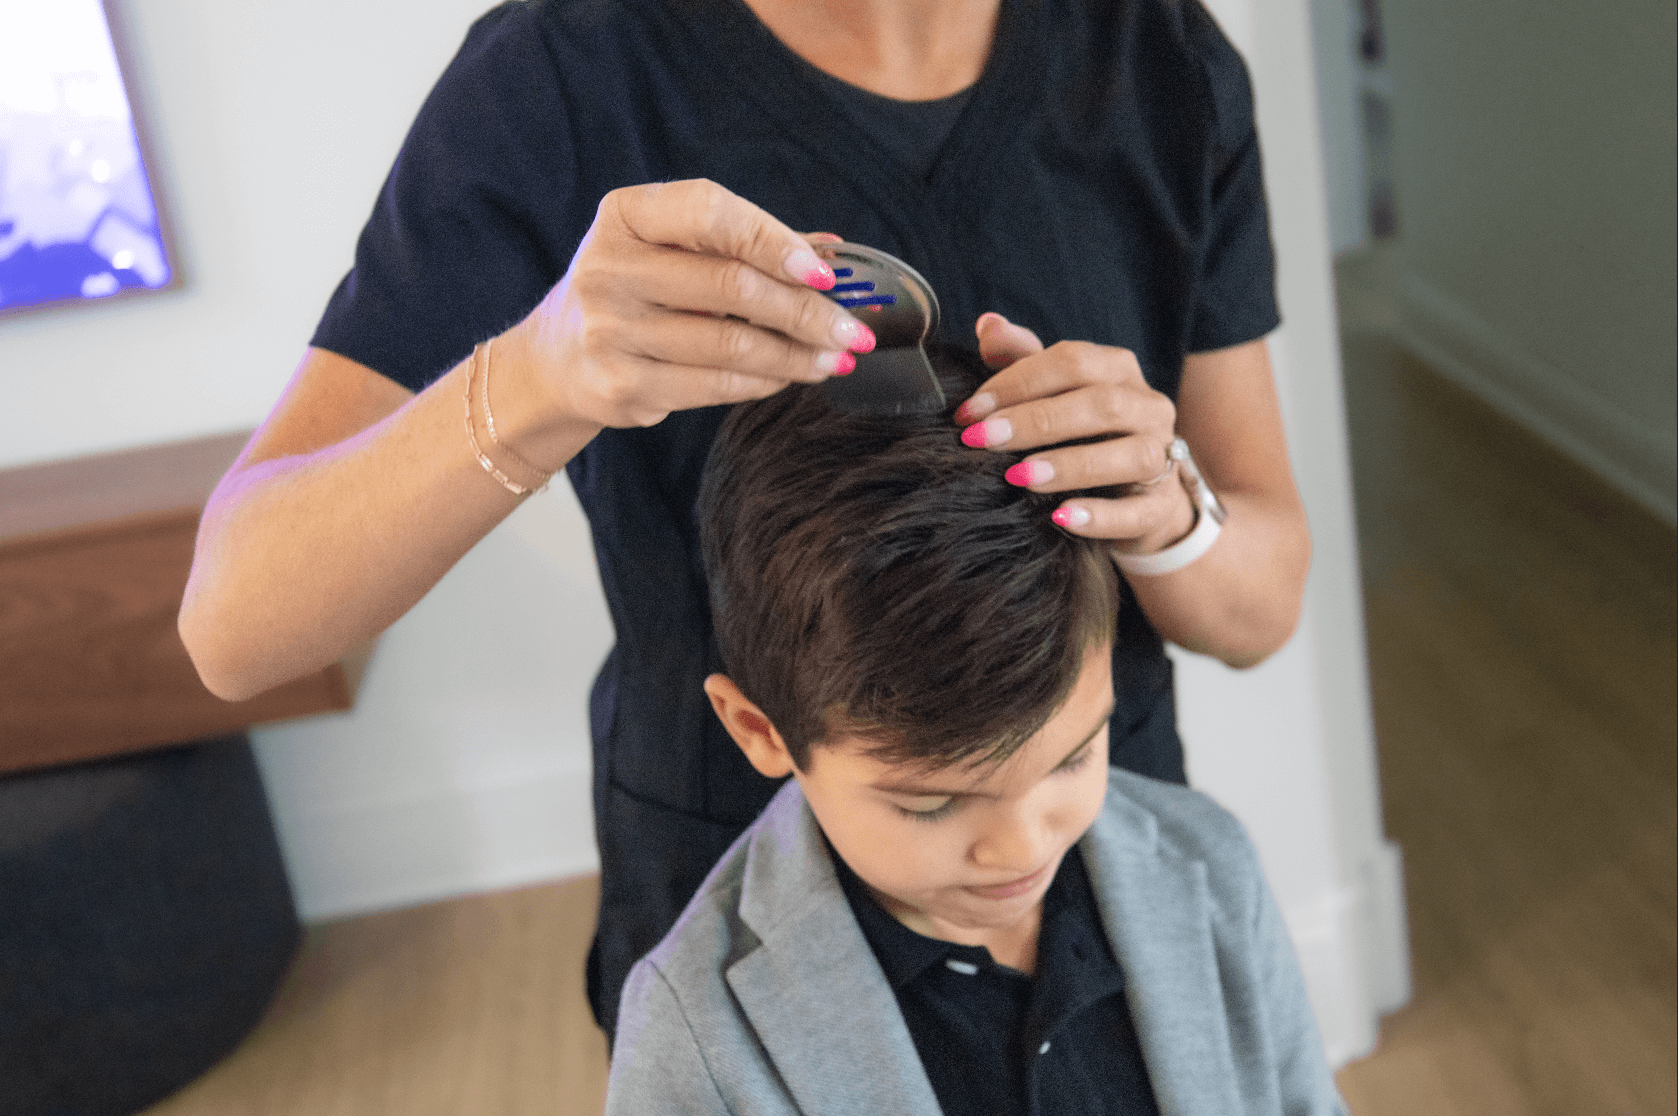
Essential Steps for Effective Lice Checks
Being able to effectively check for head lice is one of those skills that every parent should learn, just in case it becomes relevant down the road. Especially since knowing how to check for lice helps identify infestations early, making them easier to treat. With the right techniques and tools, you can efficiently assess whether someone has lice and follow up with treatment as soon as possible.
First Things First: Do You Suspect an Infestation?
There’s no harm in checking for lice regularly just in case, but if you don’t want to add the task to your regular routine, you can teach yourself to notice the signs of a potential infestation to determine whether a check is truly necessary. Identifying the early signs can help you determine the need for a thorough check:
- Itching or discomfort: One of the first signs of lice is often itching caused by a reaction to lice bites. If someone is frequently scratching their scalp, it could indicate an infestation.
- Visible irritation: Look for signs of redness or irritation on the scalp and neck, which may suggest lice activity. This is especially important in children, who may not articulate their discomfort.
- Reports from others: If your child has been in close contact with someone diagnosed with lice, it’s a good idea to conduct a lice check, even if no symptoms are present. This preventive measure can help stop the spread before it begins.
Gather the Right Tools for Checking Lice
Before starting your lice check, it’s important to gather the necessary tools to make the process as thorough and efficient as possible:
- Bright light or flashlight: Good lighting will help you see any lice or nits more clearly.
- Magnifying glass: This can be useful for spotting tiny nits attached to hair strands.
- Towels or capes: Use these to protect clothing during the checking process and to catch any fallen lice or nits, making disposal easier.
Prepare to Perform a Lice Check
Creating the right environment can help make the lice-checking process easier for both you and the person being checked (especially if you’re checking a child):
- Choose a comfortable space: Find a well-lit and quiet area where the person can sit comfortably.
- Calm the person down: Explain the process to them and reassure them that it won’t hurt. A calm environment reduces anxiety and makes the check easier.
- Use a chair with a back: This provides support and makes it easier for you to inspect their hair closely.
How to Inspect the Hair and Scalp
Knowing what to look for is crucial when checking for lice. Here’s how to identify them:
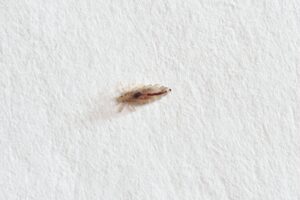
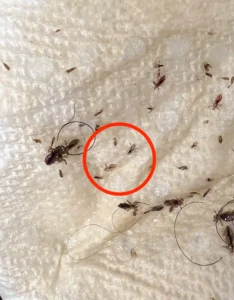
- Live lice: Adult lice are tiny, about the size of a sesame seed, and move quickly. Look for them crawling in the hair or on the scalp.
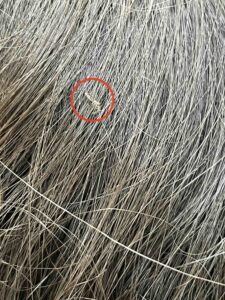
- Nits: These are the eggs laid by lice and are often found attached to hair strands. They look like tiny, oval-shaped specks that can be yellow, tan, or white. Nits are usually found close to the scalp.
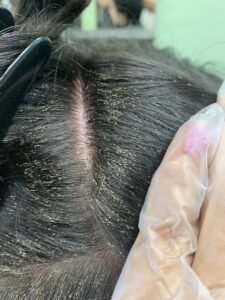
- Signs of irritation: Keep an eye out for any signs of scratching or irritation on the scalp (you might even see scabs brought on by consistent scratching or picking), which may indicate a lice infestation.
After the Check: Next Steps
Once you’ve completed the lice check, take these steps to ensure you’re prepared for any potential treatment:
- Assess the findings: If you find lice or nits, it’s essential to consult a professional lice removal clinic for effective treatment options. You can visit the Lice Removal Network to find a professional clinic near you that will provide thorough treatment.
- Schedule follow-up checks: It’s important to regularly check for lice, especially after known exposures, to catch any re-infestations early.
- If no lice are found: Celebrate the good news! Continue to monitor for any signs of lice and maintain regular checks to ensure your family stays lice-free.
Regular Lice Checks to Prevent Infestations
Incorporating regular lice checks into your family routine can help prevent larger infestations. Here are some tips to keep in mind:
- Schedule checks: Consider checking for lice at least once a month, especially during back-to-school season or after sleepovers.
- Educate your family: Teach your children about lice and the importance of reporting any itching or discomfort they experience.
- Stay vigilant: Being proactive can help keep lice outbreaks under control and maintain a lice-free environment.
Frequently Asked Questions:
What are the first signs of lice?
The initial signs of a lice infestation include intense itching on the scalp, visible lice moving through the hair, and small, white nits attached to hair shafts. Some individuals may also experience red or irritated spots on the scalp from scratching.
What can be mistaken for head lice?
Other scalp conditions, such as dandruff, dry scalp, or even certain skin conditions, can sometimes be mistaken for lice. It’s important to closely examine the scalp and hair to differentiate between these issues and seek a professional opinion if you’re unsure. Lice clinics also perform checks prior to treatment.
How often should you check for lice?
Regular checks are advisable, especially for children returning from school or social gatherings where lice can spread. A monthly routine can help ensure early detection and prevention of infestations.

