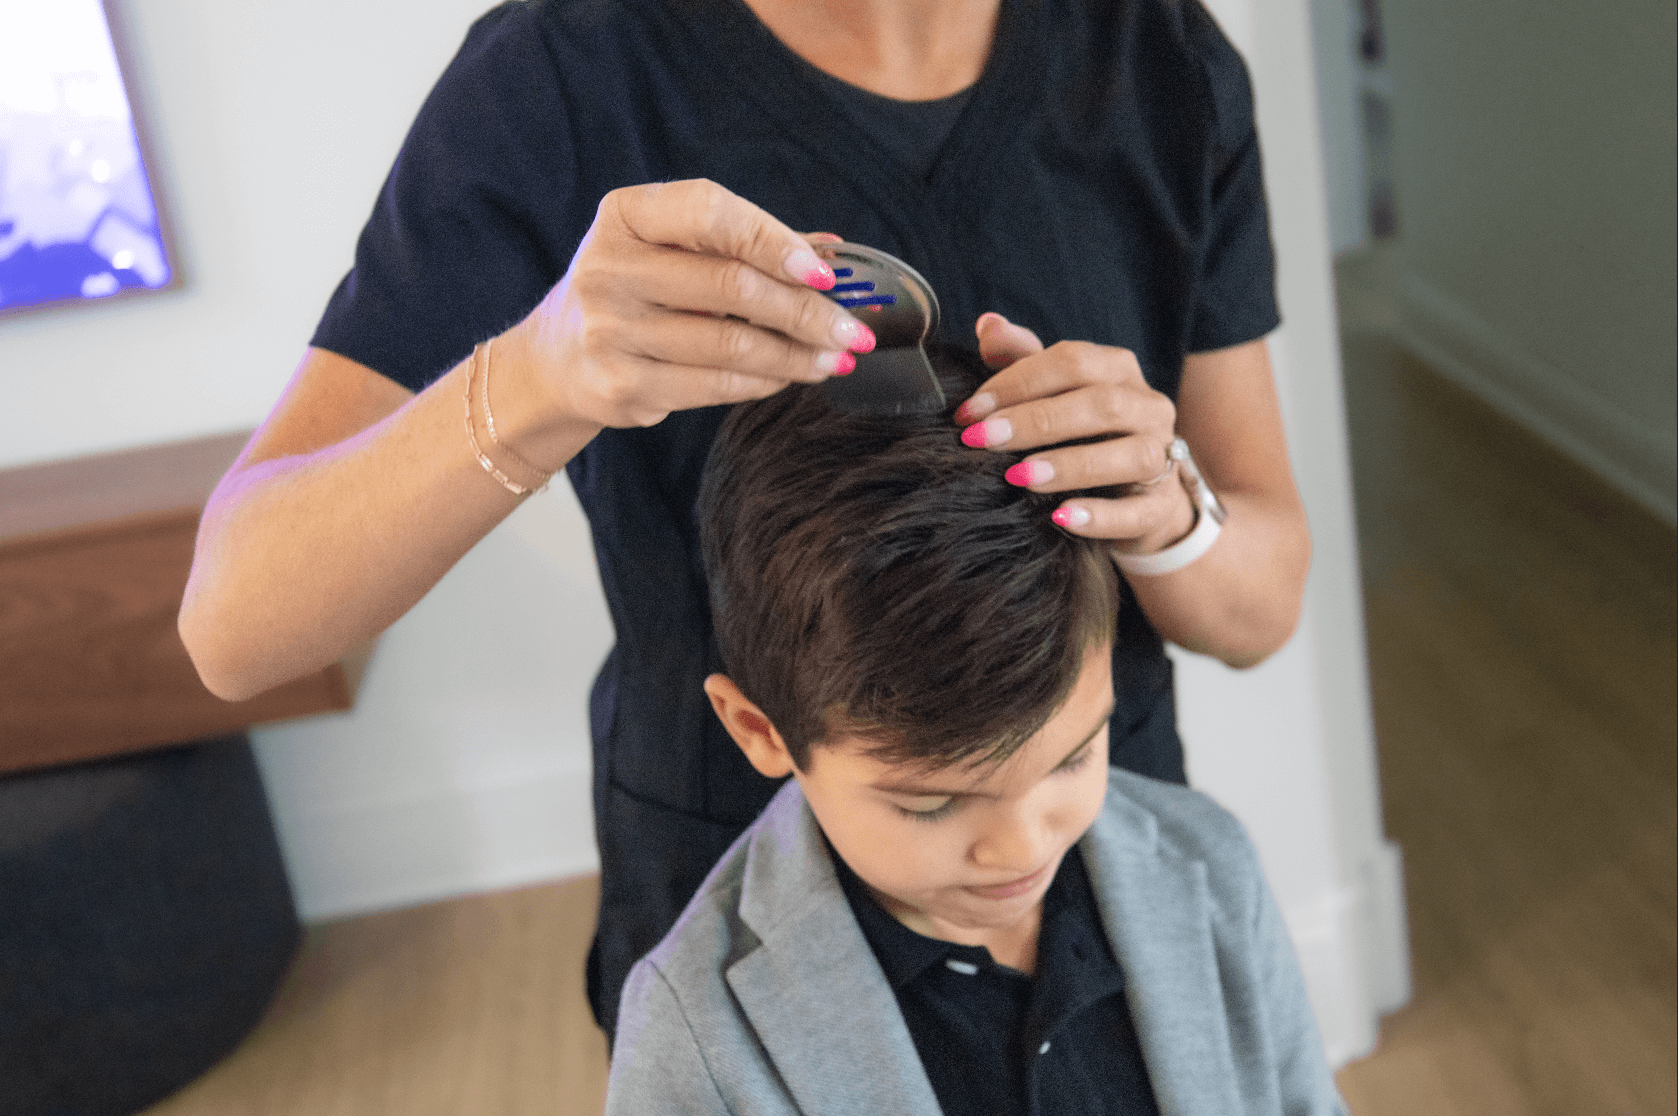

Curly hair is beautiful, unique, and often the envy of many. However, when it comes to head lice, those gorgeous curls can present some unique challenges. The good news is that with a bit of patience and the right techniques, you can effectively eliminate lice from curly locks. Let’s dive into the steps and tips on treating head lice in curly hair.
1. Preparing the Lice Battlefield
Before you even start the treatment, there are a few things you’ll need:
- A good-quality lice comb (metal ones tend to be more effective than plastic).
- Hair clips or bands to section off the hair.
- A lice treatment product, which can be over-the-counter or prescribed. Alternatively, some people use natural oils like coconut or tea tree oil for infestations, although their effectiveness can vary.
- Bright lighting or a headlamp.
- A white towel or cloth, which can help in spotting lice and nits as they fall.
2. Detangling the Curls
Curly hair can be prone to tangling. Before starting with any lice treatment:
- Wet the hair slightly. This can make the process less painful and more manageable.
- Apply a generous amount of conditioner or a detangling spray.
- Starting at the tips, gently detangle the hair using a wide-tooth comb, working your way up to the roots.
3. Applying the Lice Treatment Product
Follow the instructions on your chosen lice treatment product:
- Ensure the treatment covers all the hair, from the roots to the tips.
- Depending on the product, you’ll need to leave it in for a certain period.
- Always be cautious about using multiple treatments simultaneously. It can be harmful and is usually unnecessary.
4. Section and Comb Out Lice and Nits from Curls
Dividing the hair into sections is crucial, especially with curly hair:
- Use hair clips or bands to divide the hair into small, manageable sections.
- Starting at the scalp, comb through each section with the lice comb, ensuring you reach the full length of the hair.
- After each pass, wipe the comb on the white towel or cloth. This will help you see if you’re removing any lice or nits.
- Once done with a section, pin it up or away to avoid recontamination.
5. Rinse and Repeat
After the initial comb-through:
- Rinse out the treatment product.
- It’s a good idea to repeat the combing process for a few days consecutively to ensure you’ve removed all lice and nits.
- Some treatments may require a second application after a week to ensure any newly hatched lice are also killed.
6. Aftercare and Prevention for Lice in Curly Hair
Once you’ve treated the hair:
- Wash bedding, hats, and any hair tools in hot water to kill any remaining lice or nits.
- Regularly check the hair for any signs of a new infestation.
- Teach kids about not sharing hats, combs, or hair accessories to prevent future outbreaks.
- Some people find using tea tree oil shampoos or sprays as a preventative measure helpful, but always ensure no allergies or sensitivities to these products.
Lice in Curly Hair is Manageable
While curly hair can pose some challenges in the face of a lice infestation, it’s entirely possible to rid those lovely locks of the pesky invaders. Remember, patience is key. Ensure you’re thorough in your approach, and soon enough, those curls will be lice-free and as beautiful as ever!
